Showing posts with label nail art. Show all posts

Friday, September 13, 2013

Nail Polish - Favorite Colors for Fall!

Put away those summer shades and make room for some amazing and eccentric fall nail polish colors! Fall is definitely one of my favorite times of the year and nail polish is one of my favorite beauty products. Luckily, for a few moths during the year I get to combine my love for both fall and nail polish! I always try my best to keep up with the nail polish colors that are currently in style, I rocked mint on my nails and toes pretty much the whole summer! But, now, it's time to move on to fall and switch your shades!

Raspberry


Show off your chic side from day one with a bold, raspberry polish! It's an unexpected, darker shade that's more exciting than plain black nails, but not quite as overtly girly as a bright pink.

Try:  
1. "Laurel Canyon Lolita" by NCLA, $16, shopncla.com  
2. "Pulp Fiction" by Sonia Kashuk, $4.79, target.com  
3. "Intuition" by Seche, $8.50, Ulta and salons  
4. "Don't Make Me Wine" by China Glaze, $8, salons


Dark Cherry

If you and your crush have plans to walk through the park drinking maple lattes, give your mani a subtly romantic vibe with some this deep cherry polish. It's a bit more mysterious than your average red, and the darker shade pairs perfectly with cozy fall flannels!

Try:  
1. "Dinner Party" by Candie's, $8, kohls.com  
2. "From The Heart" by SpaRitual, $10, sephora.com
3. "Lost on Lombard" by OPI, $9, ULTA  
4. "Control Freak" by Sephora X, $9.50, sephora.com

Monday, August 5, 2013

Monday = Manicures!

It's Monday, again, and the beginning of another work week! Some people despise Monday, which I can totally understand, since it means the end of the lovely weekend and the beginning of a very long work week. One way to get over the Monday funk is to do something you enjoy after work on Monday; preferably something relaxing. If you give yourself a chance to relax and enjoy yourself you'll be ready for whatever the work week has to offer to you! One thing I love doing on Mondays is getting a manicure and pedicure! It prepares me for the long week ahead. I haven't gotten a manicure this Monday and, unfortunately, I don't intend to.. But I started looking for some cute nail art and nail colors that I may pursue for next Monday!


I love a good glitter ombré! The bold colors at the top attracts your eye to the nail then slowly fades to a gorgeous natural looking color.


This is definitely one of my top three favorites! I've been obsessing over the black and neon trend lately; especially when it comes to accessories such as your nails. Totally adorable idea for summer! 


If you want to keep it simple but add a little "pop" to your nail this is definitely the manicure for you! The vintage looking pink color gives off a classy and chic feel while the gold clump at the base of your nail is the perfect addition to ensure the nails aren't bland and boring.


This reverse French manicure is a new and fresh take on an old idea. I am loving the matte blue color paired with the sparkling gold base. This is a look I'd love to try for fall!

Friday, August 2, 2013

FRI"DIY" - Make Your Own Nail Polish!

The weekend is finally here! I bet everyone is really excited for that.  Not only am I excited about the weekend, I'm excited for today's "DIY" blog post! Let me start by saying that in yesterday's post I accidentally wrote I was 250 views away from 2,000 in stead of 3,000, which I didn't notice until 5 hours after the blog was posted and it bummed me out. However, I reached over 3,000 views last night which definitely improved my mood! Anyway, today we are going to make our own nail polish! The only thing I love more than nail polish is DIYs, so being able to combine my love for the two started my day off on the right foot. It was one of the easiest projects I have done and it was very inexpensive! Let's get started!

What you'll need for this DIY:


In no specific order:


1) 1-2 bottles of clear nail polish - 99 cents each.


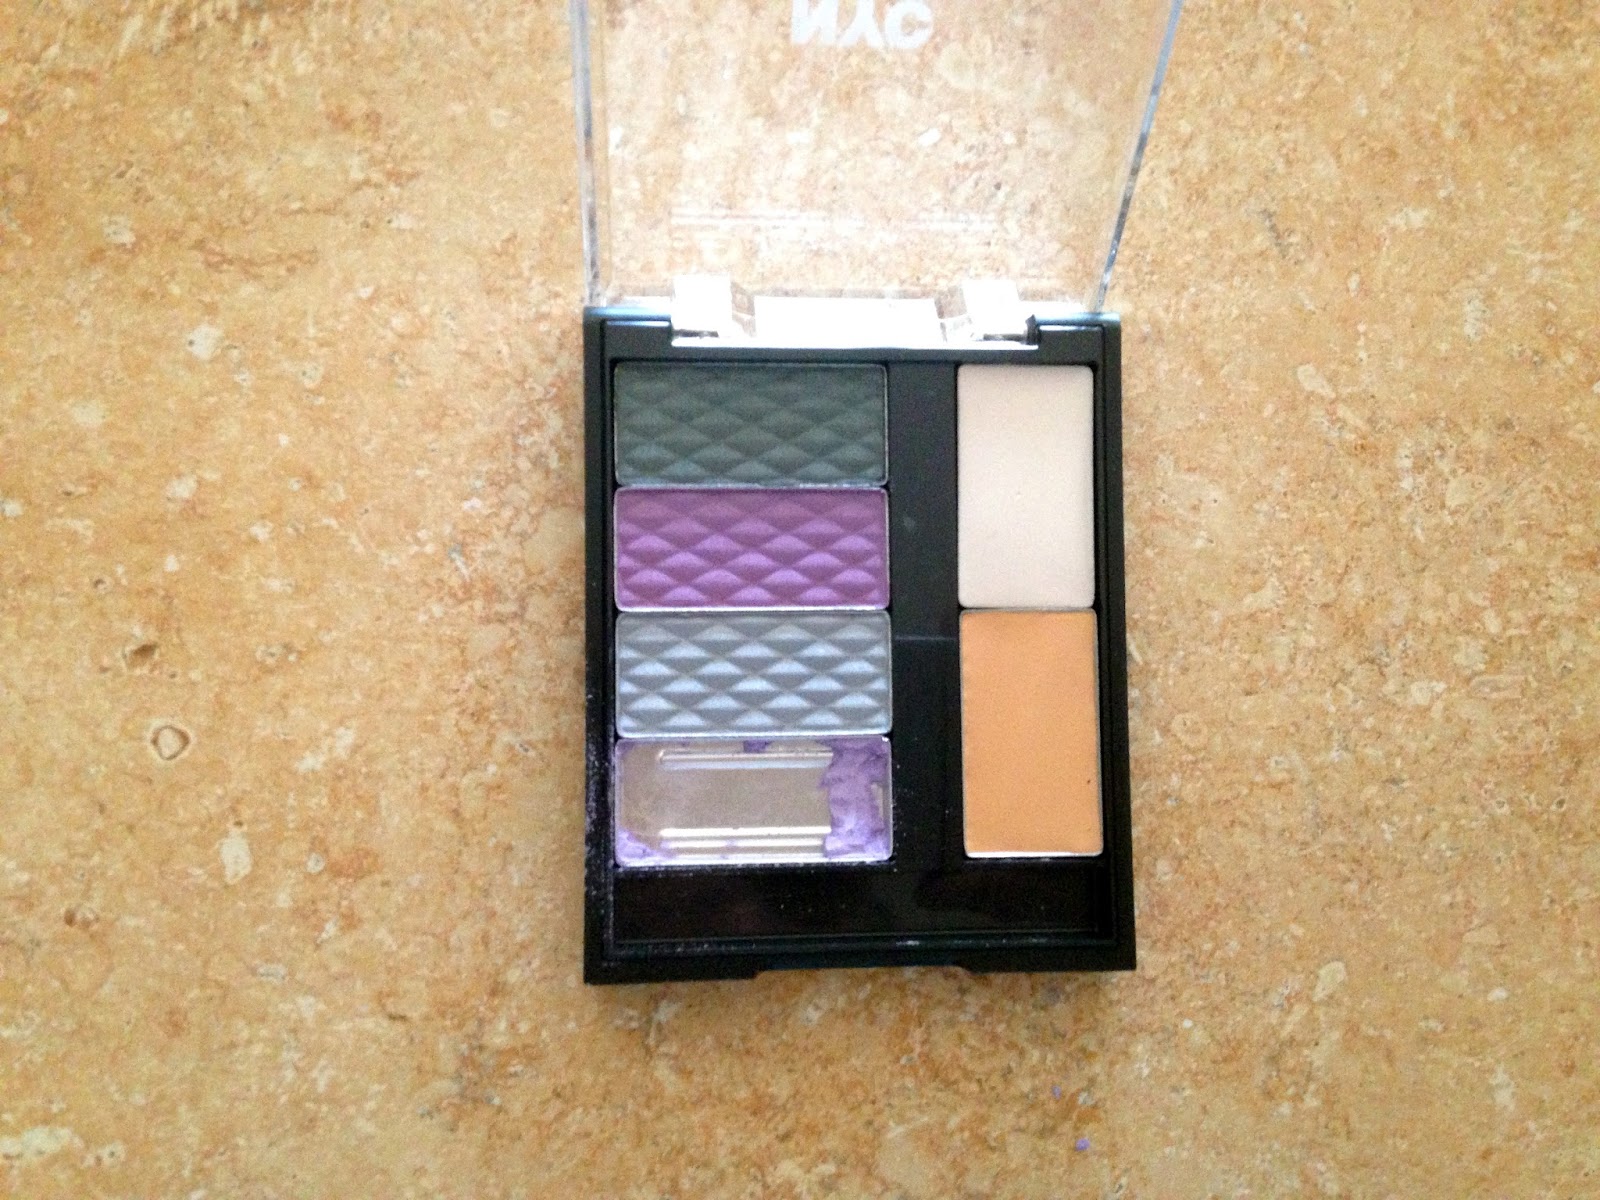
2) Eyeshadow pallet of your choice (you could also use an old one of yours) - $4.99


3) Q-Tips - $1.50


4) A piece of paper!

I got all of the items I needed from CVS (besides the piece of paper) and spent around $10.00 in total; however you may have these items laying around your house and you can do this project without spending any money! The brands of nail polish and make up I used are NYC.


Time to start!


Open your eyeshadow and begin scraping at (using a butter knife or some sort of sharp object) the color of your choice. Don't scrape all of the color out at once because it will be harder to pour onto the sheet of paper.


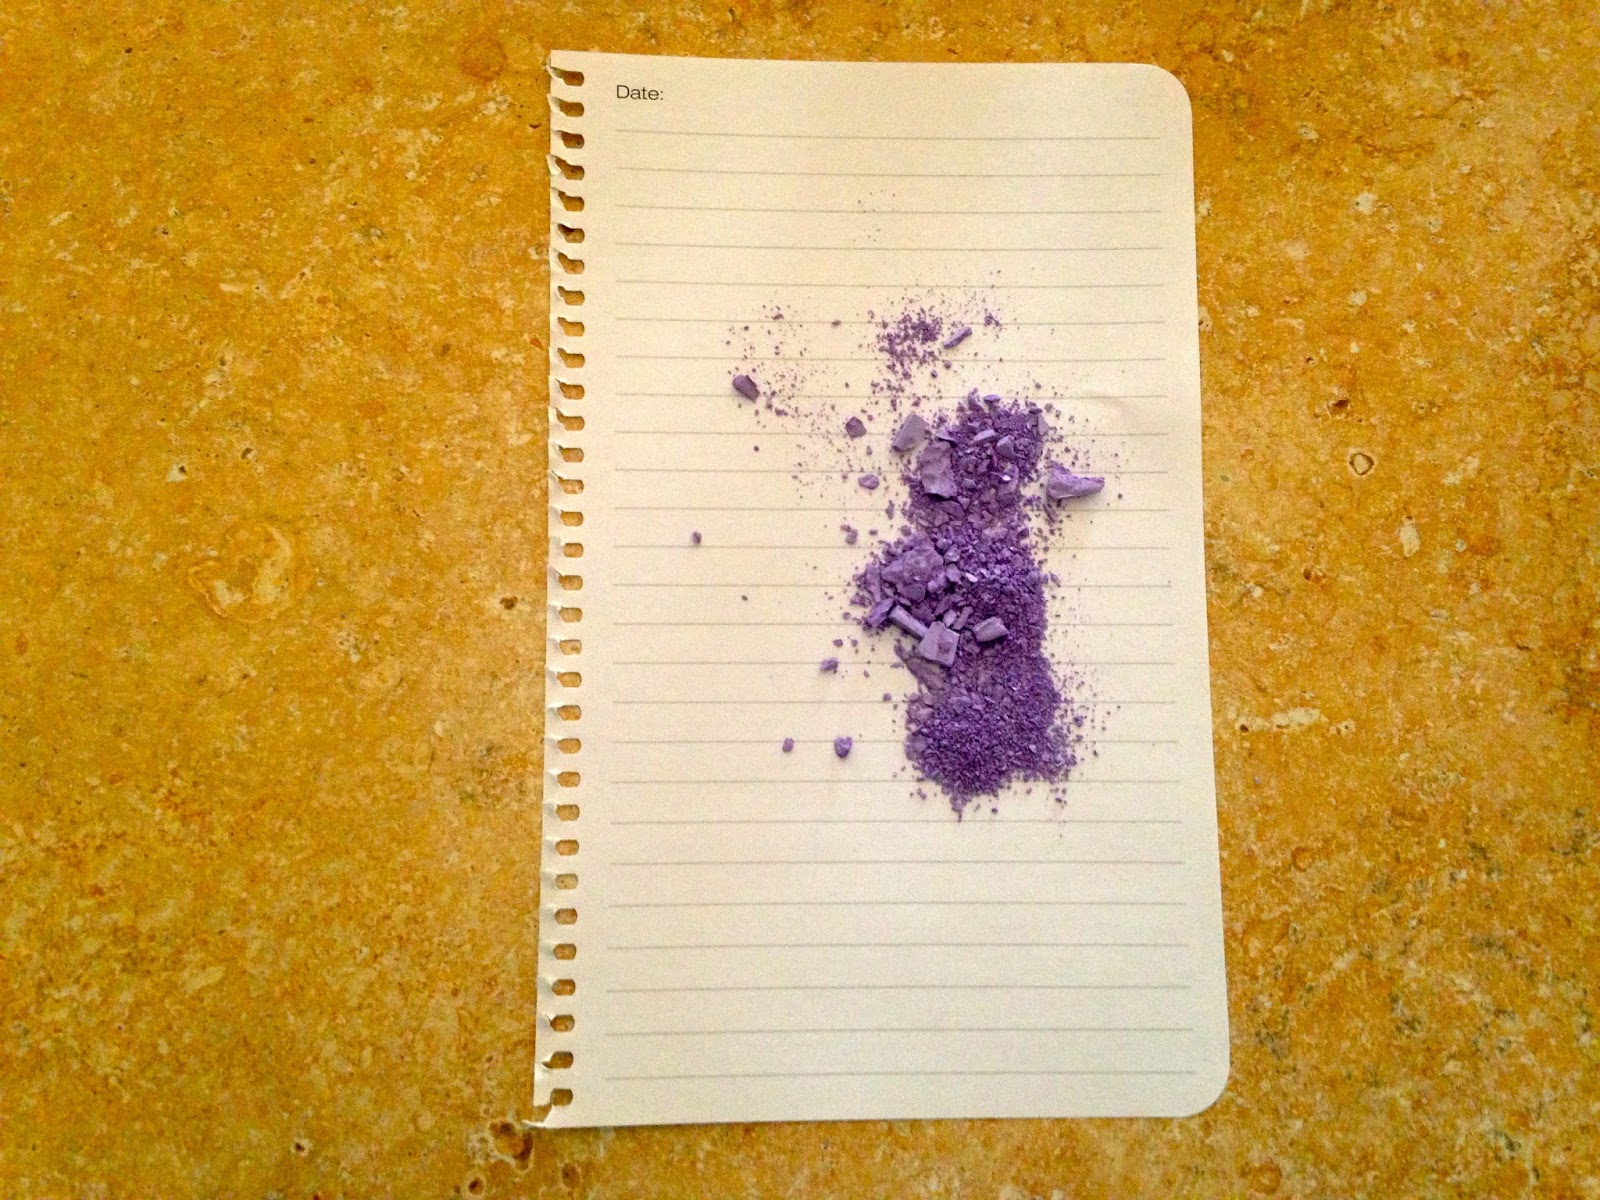
Pour what you've scraped onto the paper.


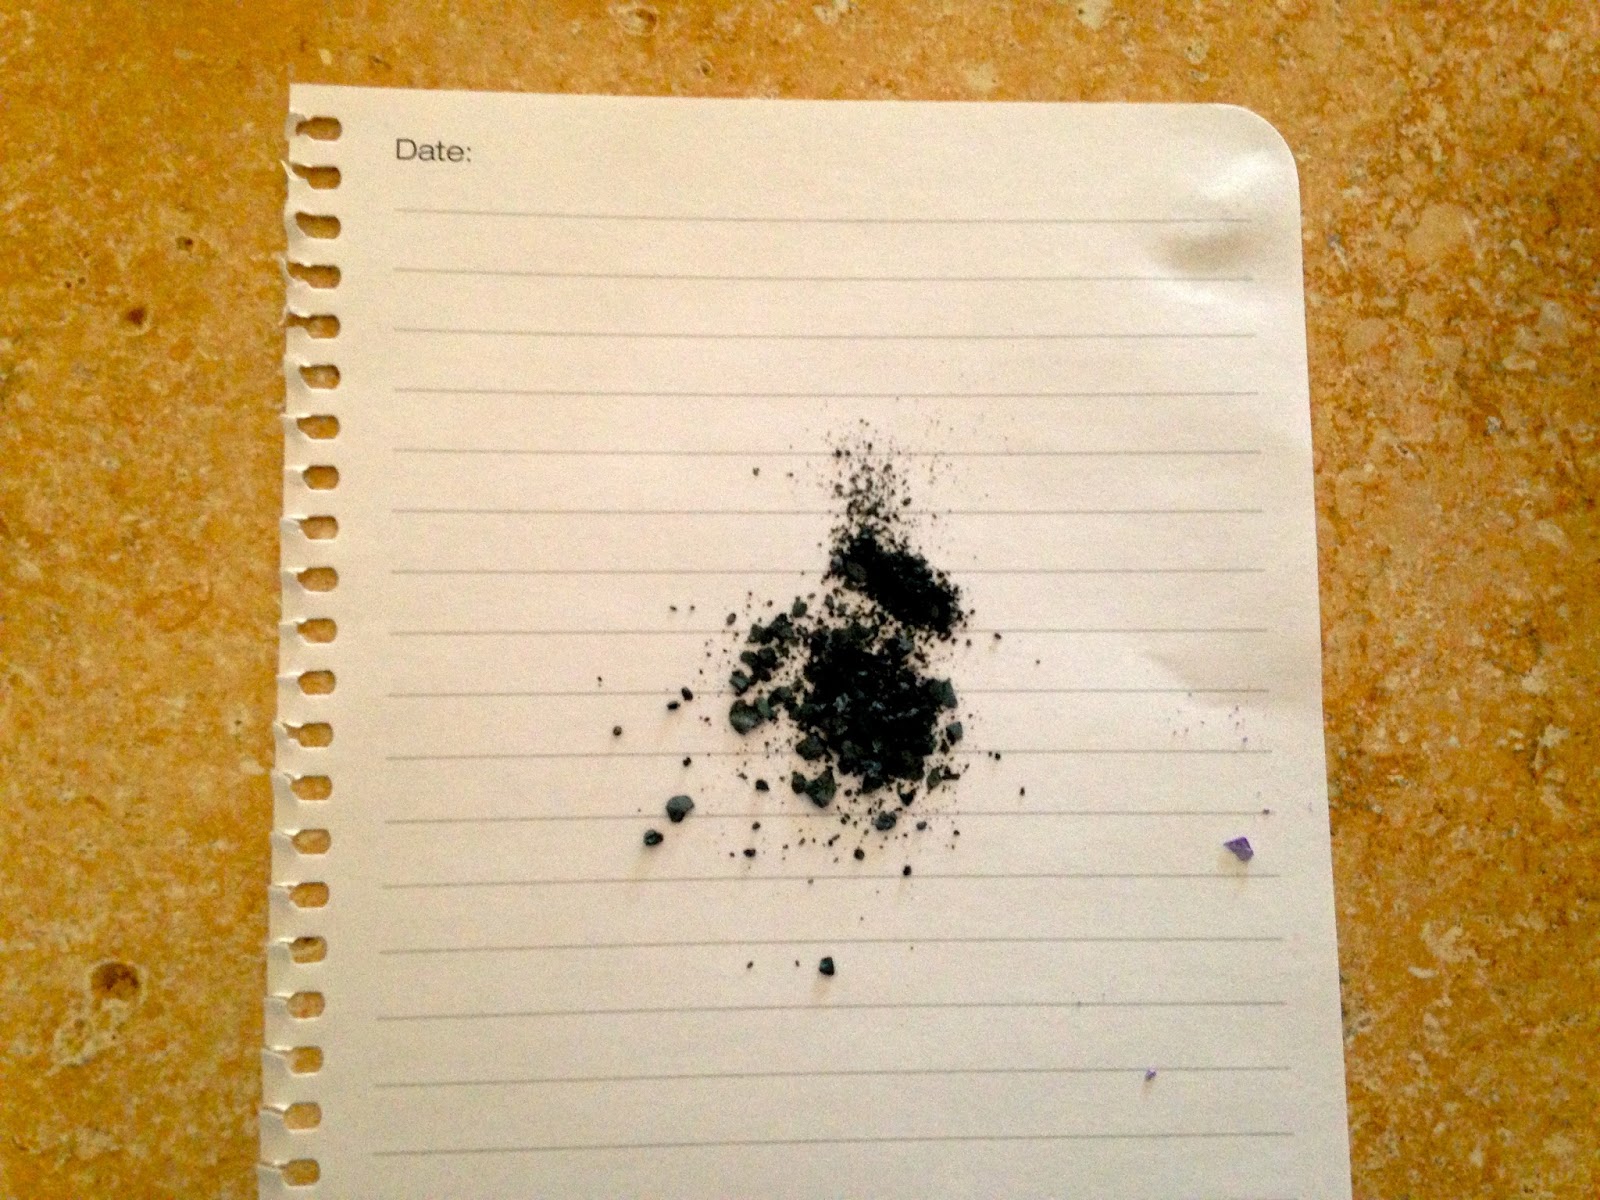
And this is what your eyeshadow should look like: 


Keep on scraping until you've emptied out the entire eyeshadow section of your choice and pour the excess eyeshadow onto the paper!


Once the eye shadow container is completely empty, make sure you crush the eyeshadow color down into powder because big chunks will not fit into the nail polish bottle.


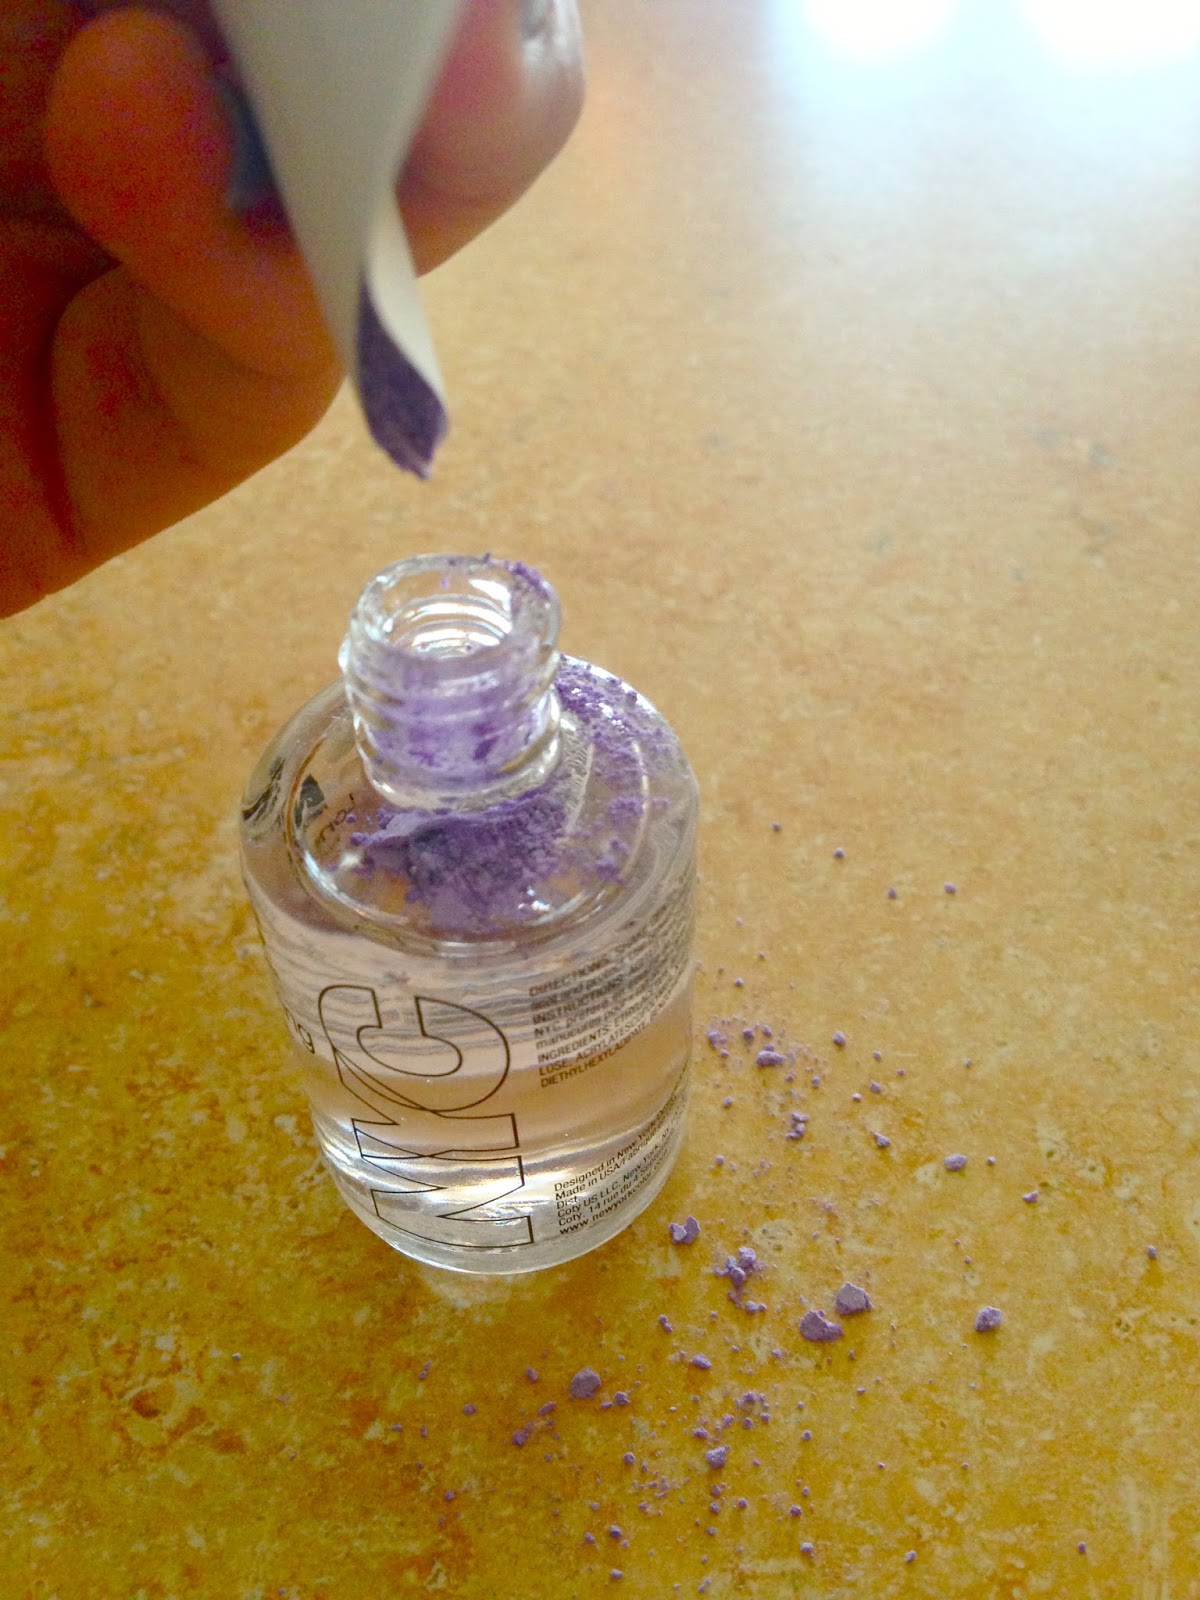
Next, open up one of your clear nail polish bottles and pour a little of the nail polish into your trash can to make room for the powder. DO NOT pour the nail polish into your sink, it will clog your drain.


 Time to start pouring! With the lid off of the nail polish remover, fold the paper in half (with the eye shadow in it) to make the pour 10x easier.


If you get a little eyeshadow on the table it's perfectly fine because it's easy to wipe up and you could always brush it right back onto the paper to pour back into the bottle!


This is what your nail polish should look like after the pour.


Pretty cool, right? Take your Q-Tips and pull the cotton off one of the ends to use as a mixing tool to mix the eye shadow and clear nail polish.


Once the cotton is ripped off either side, begin mixing!


Mix it for about two minutes and you will see your final product!


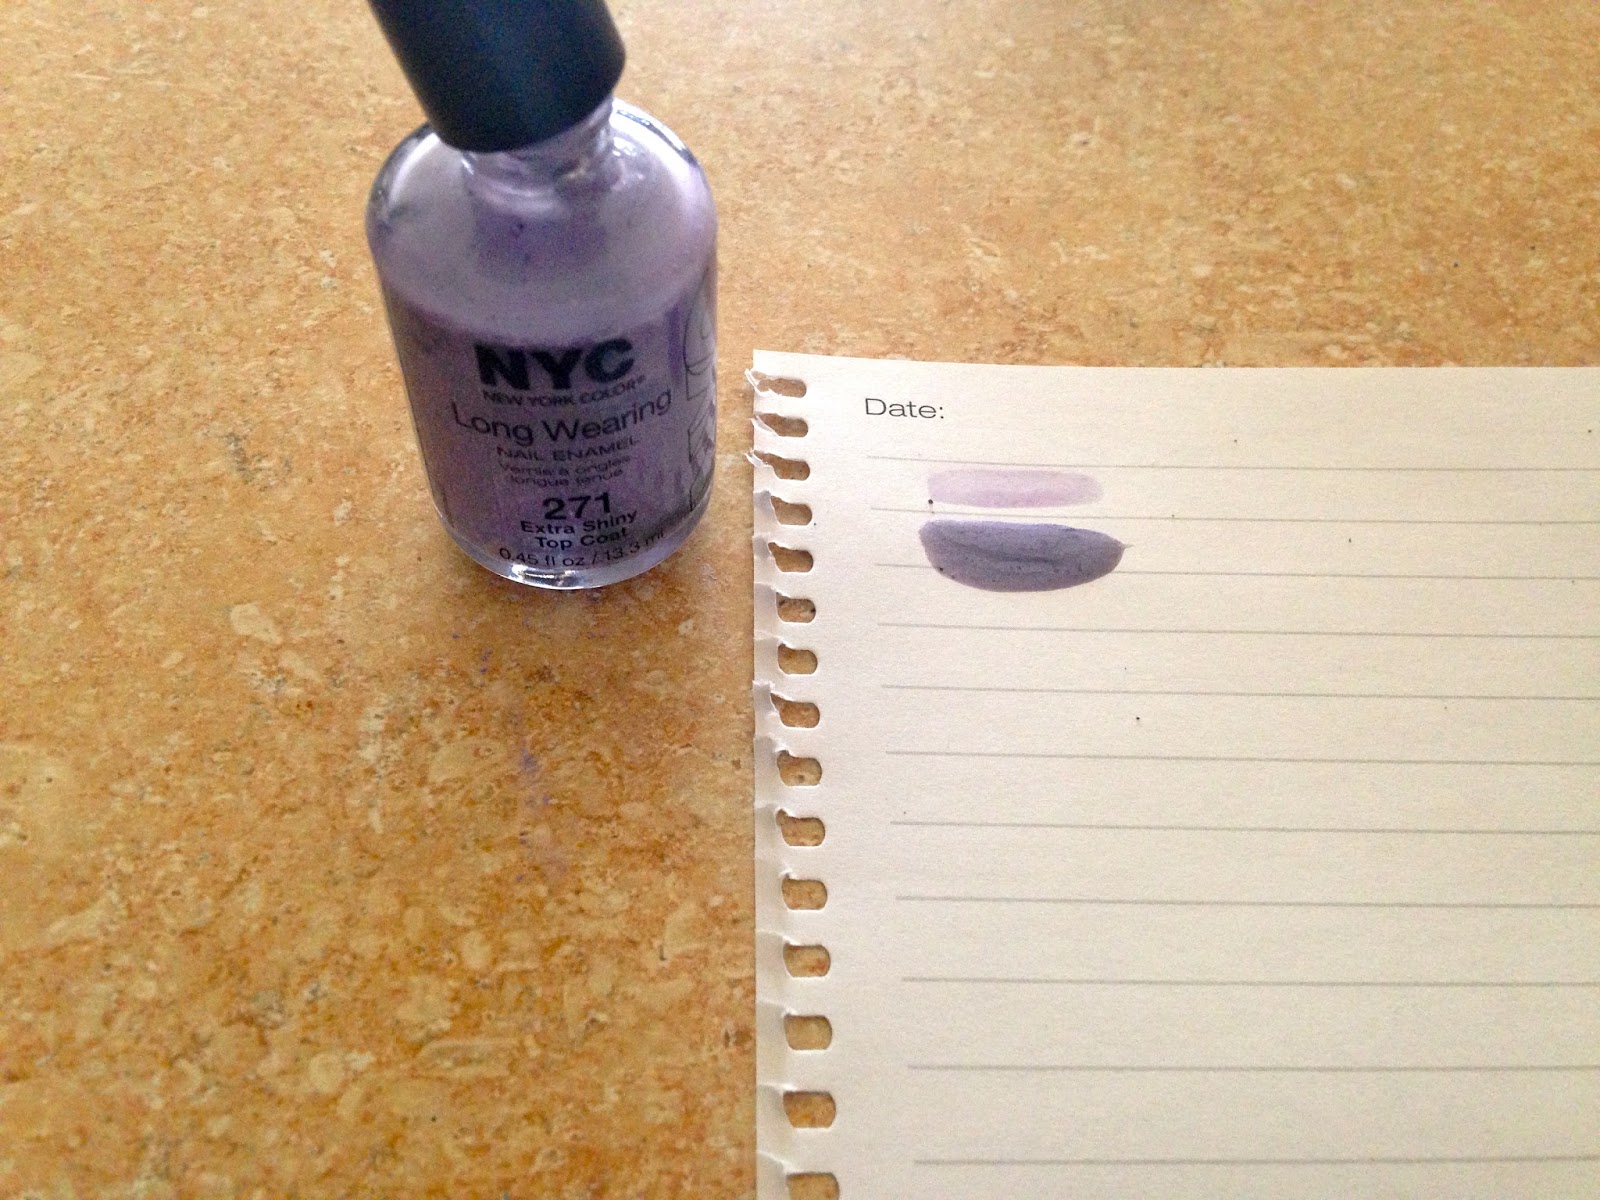
To ensure you're happy with the color, grab a piece of paper and test it out!


The color was definitely too light for my liking, so I followed the same steps as above and added some black eye shadow to darken it.


And here was my final product (in comparison to the first shade)! I was very very happy with it.


The most perfect purple color I could've asked for!

I also bought a second bottle of clear nail polish that could be used as a top coat or to make another color! You could always be bold and mix colors or choose very funky greens or blues. Adding darker colors will darken the shade as adding lighter ones will lighten it and possibly make it more transparent looking. This particular DIY only took me about 20 minutes and didn't require any heat or craft tools. Like I mentioned above, you could save yourself $10.00 and use eyeshadows and nail polishes you already have at home!

I really hope you enjoyed this weeks FRI"DIY" blog and I'm already looking forward to next weeks!


Links to the places/products mentioned above:
CVS: http://www.cvs.com
NYC Beauty: http://newyorkcolor.com


What do you think of this DIY? What colors are you planning on trying? If you do try this out, please send pictures!

Monday, July 29, 2013

Make Your Monday Matter!

Monday is one of the most dreaded days of the week. Monday means the end of a relaxing and stress less weekend and the beginning of the hectic work week. For most people, waking up Monday morning is a task in itself; especially after sleeping in on the weekends. I figured I'd dedicate this blog post to inspirational quotes that will help you drag yourself out of bed on this beautiful Monday morning!!


Keep repeating this on your dreaded Monday morning, positivity is the key!


Take chances! You never know what great things can come out of it.


Luckily this Monday morning is one I've been looking forward to for weeks! Cody and I finally have off of work on the same day (which rarely happens). We "took a chance" and decided to do something we've never done before. We're on our way to Delaware for some fun adventures, shopping (because there's no sales tax) and good food! I'm really excited

Here's some pictures of my outfit for today!