

What you'll need:

A candle holder (of your choice) I purchased this one from The Christmas Tree Shops - $4.00

A glue gun, I purchased this one from A.C Moore and it was around $3.99. I would also grab extra glue sticks, too!

Mosaic Stones, I purchased the mini bags above from The Christmas Tree Shoppes, they were $1.99 each. I didn't need as many stones as I bought, I just figured it's better to buy more and have some left over than to be short stones. You can choose whichever colors you want *HOWEVER* they must be transparent (see through) or the light will not shine through them. I chose red, orange, yellow and clear because they're fall colors and I love fall!
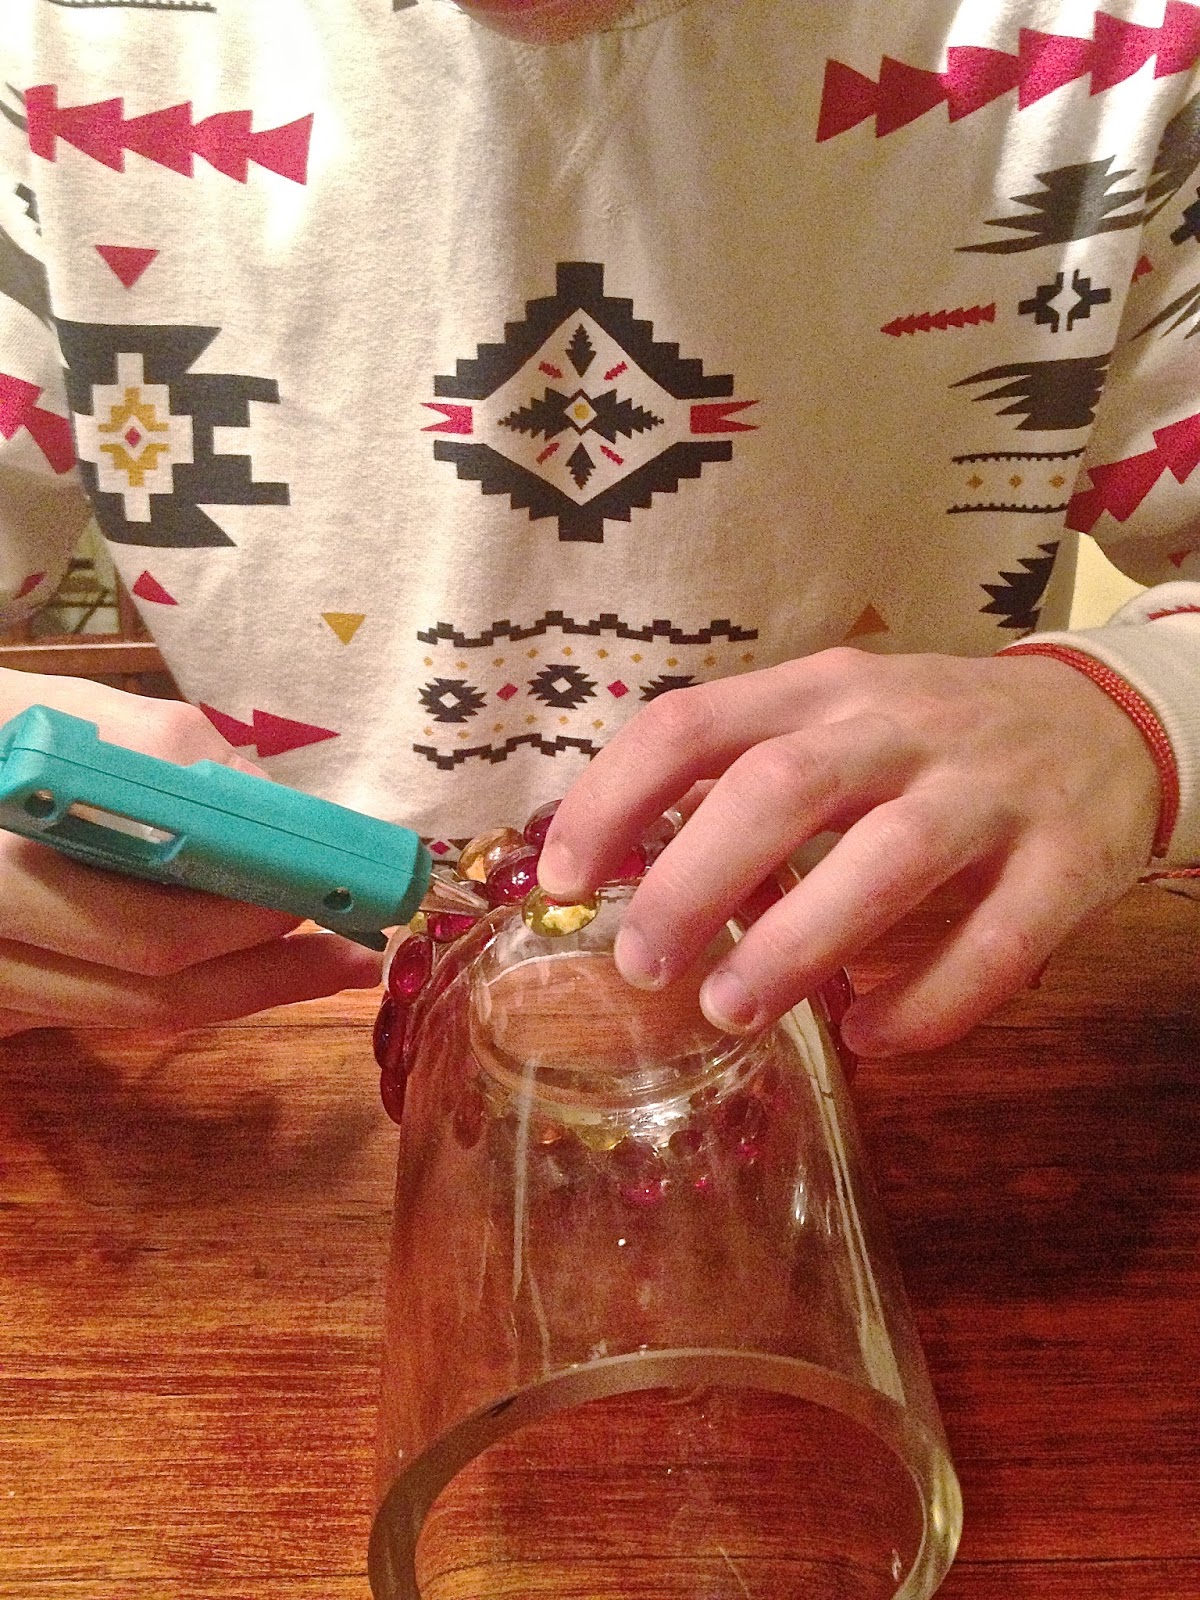
Step 1: After letting your hot glue gun warm up, begin gluing the mosaic gems of your choice to your candle holder or jar. This is a really simple and easy DIY! There is so much room for personalization and you can arrange the stones in any pattern of your choice. When you're gluing, remember that you will only need a tiny bit of glue to hold the stone in place, don't over glue or it will seep out of the sides.

Step 2: continue gluing!


(if you get any of those stringy pieces of glue (as seen above) after gluing its completely fine! The strings are extremely easy to brush/pull off once the project is completed)
Once it's all finished..

.. you can move onto the third and final step!
Step 3: put a tea light or candle in your completed mosaic candle holder, turn off all the lights and prepare to be amazed!


I was so happy and impressed with the results! It's such a beautiful sight to fall asleep to and I definitely plan on making more!

I took the picture above from my phone with the flash on, that's why it looks a little brighter!
Well, there ya have it! Your simple three step DIY. The whole project cost about $13.00 (since I already had the glue gun. Sorry to cut this post short but I have to grab my ID from college, which I start in less than a week! I'm extremely excited, so prepare for a blog post (hmm, or maybe video blog) on it! Thank you for reading today's blog and I hope you have a great Friday!
*A special thanks to my boyfriend, Cody, for helping me out with this DIY. He can be seen wearing the Aztek sweater from Forever 21 (21 Men) which I absolutely love :-)*
If you're looking to get a sweatshirt similar to Cody's:

Forever 21 "Southwestern Print Pullover" - $16.80


No comments:
Post a Comment