

What you'll need:

Sea Salt or any kind of big grain salt - $1.99

Cream of Tartar - $2.99 ea. This is what makes the bath bomb fizz!

Almond Oil - $3.99. I chose Almond Oil because it's great for enhancing the elasticity of your skin, preventing stretch marks and wrinkles. And it smells GREAT!

Cake Pop Mold - $4.99. You can buy any sort of mold you would like or use any one you have laying around your house. I decided to do mini bath bombs.

Food Coloring - $1.99. This part is optional, you only have to add color to the bath bomb if you would like too!

Baking Soda - $2.99
I got everything for this DIY at Shop Rite and in total it came out to around $23.00. This is a great deal because I made about 12 bath bombs which means each cost LESS THAN $2.00.
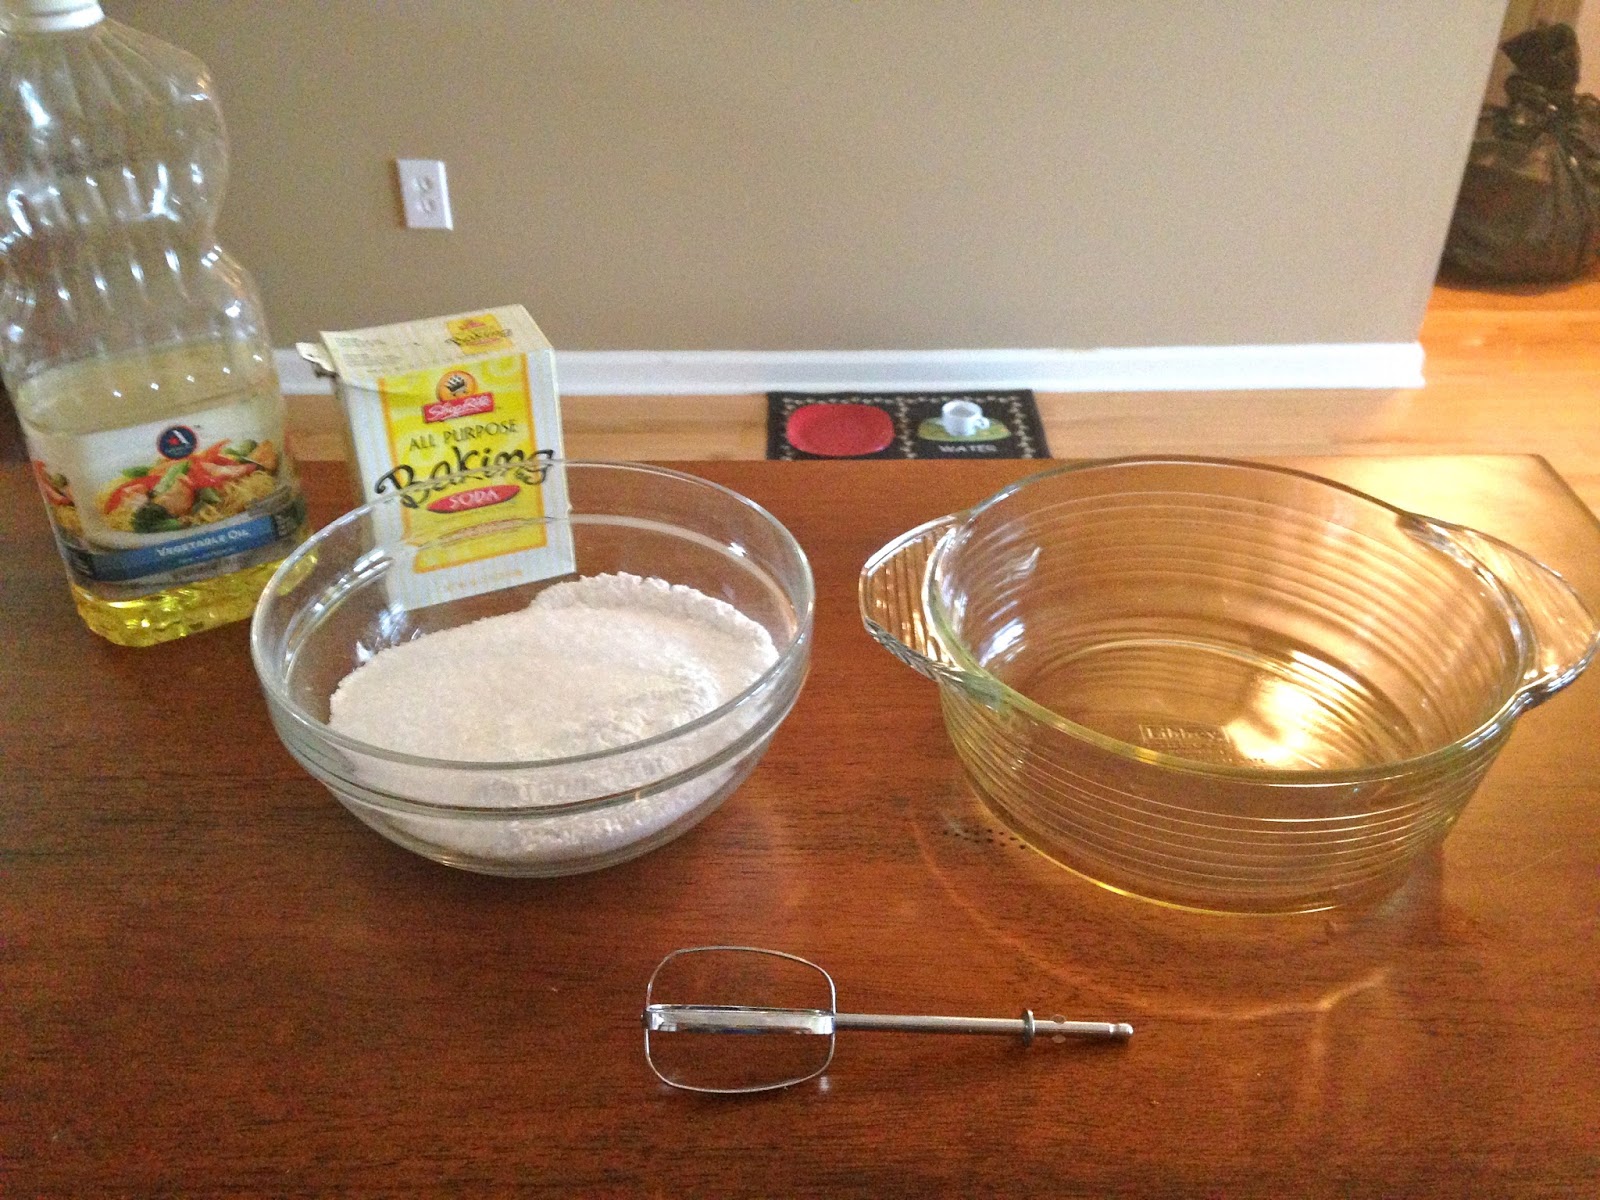
You'll also need:
(I had these items in my house)

Two bowls
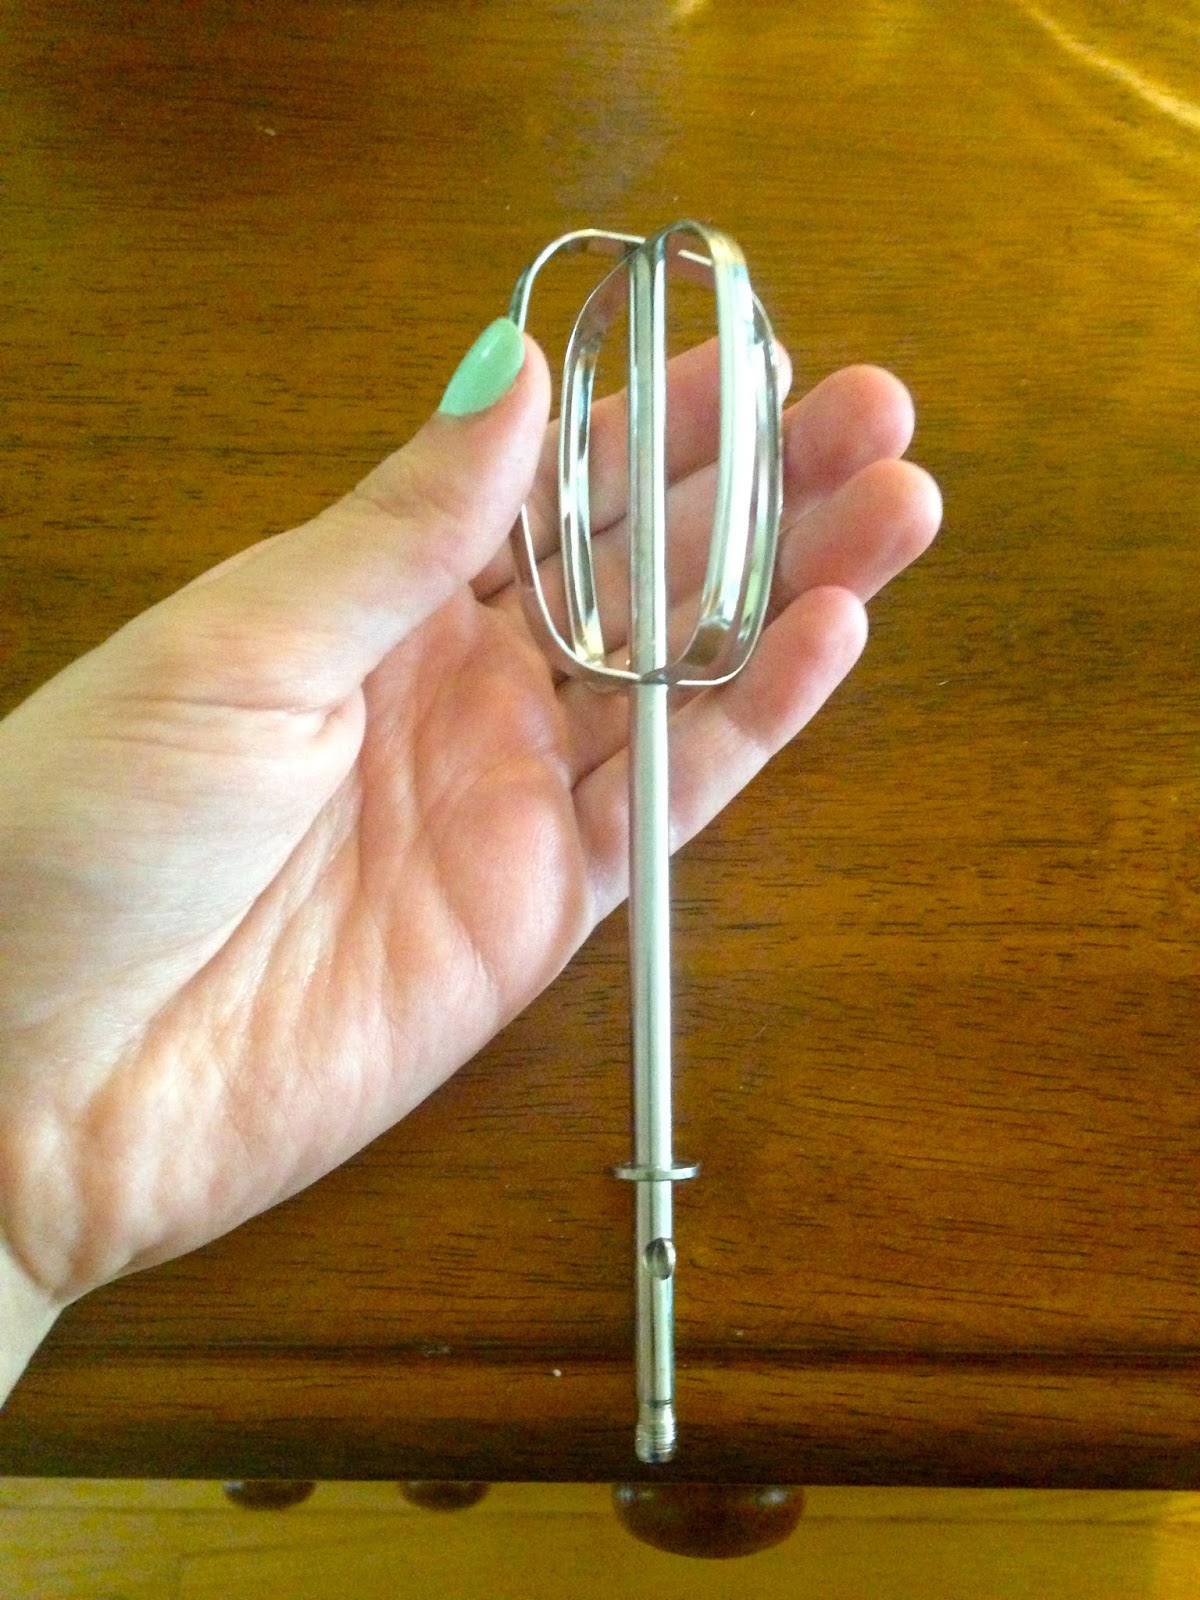
A whisk

Vegetable Oil
Lets get started!
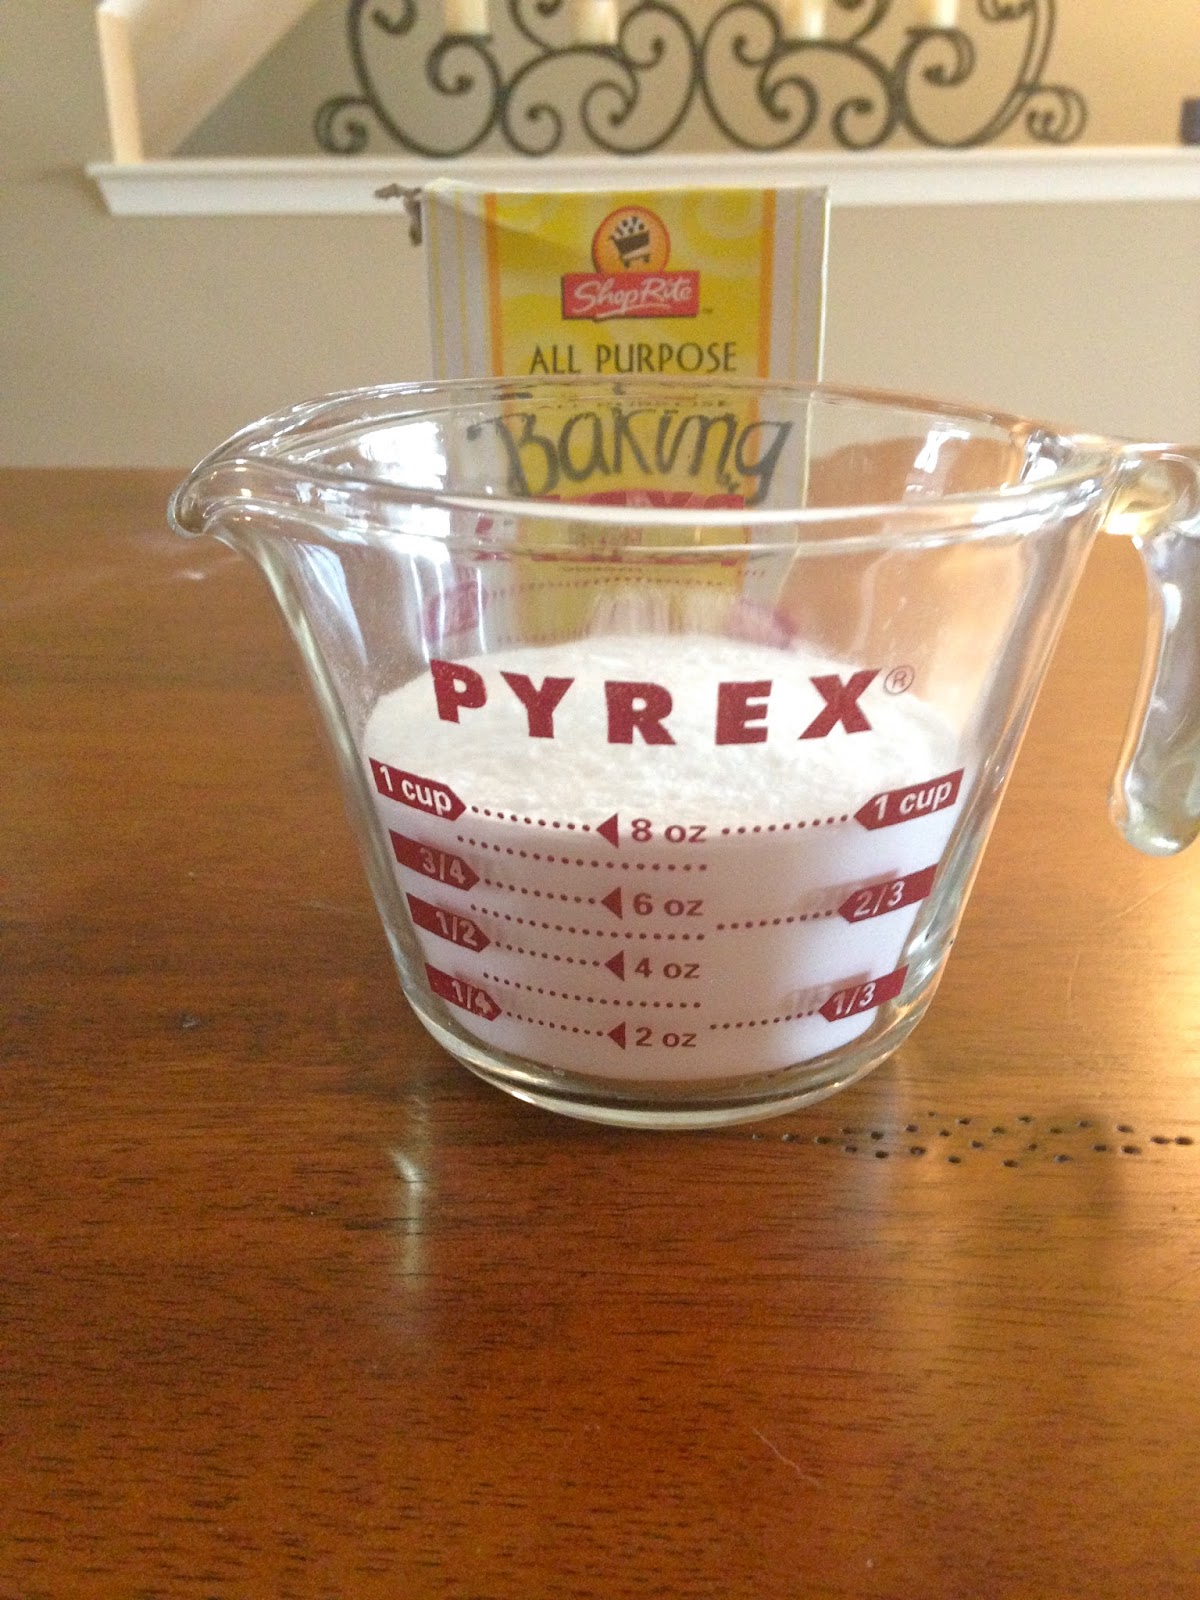

Using a measuring cup, measure two cups of baking soda and pour it into an empty bowl.


Next, add a 1/2 cup of Cream of Tartar and this is what both powders will look like.

And this is what your Cream of Tartar containers will look like. You will still have a little bit left in one.


Add one cup of Sea Salt and this is what your mixture will look like. (Before mixing)
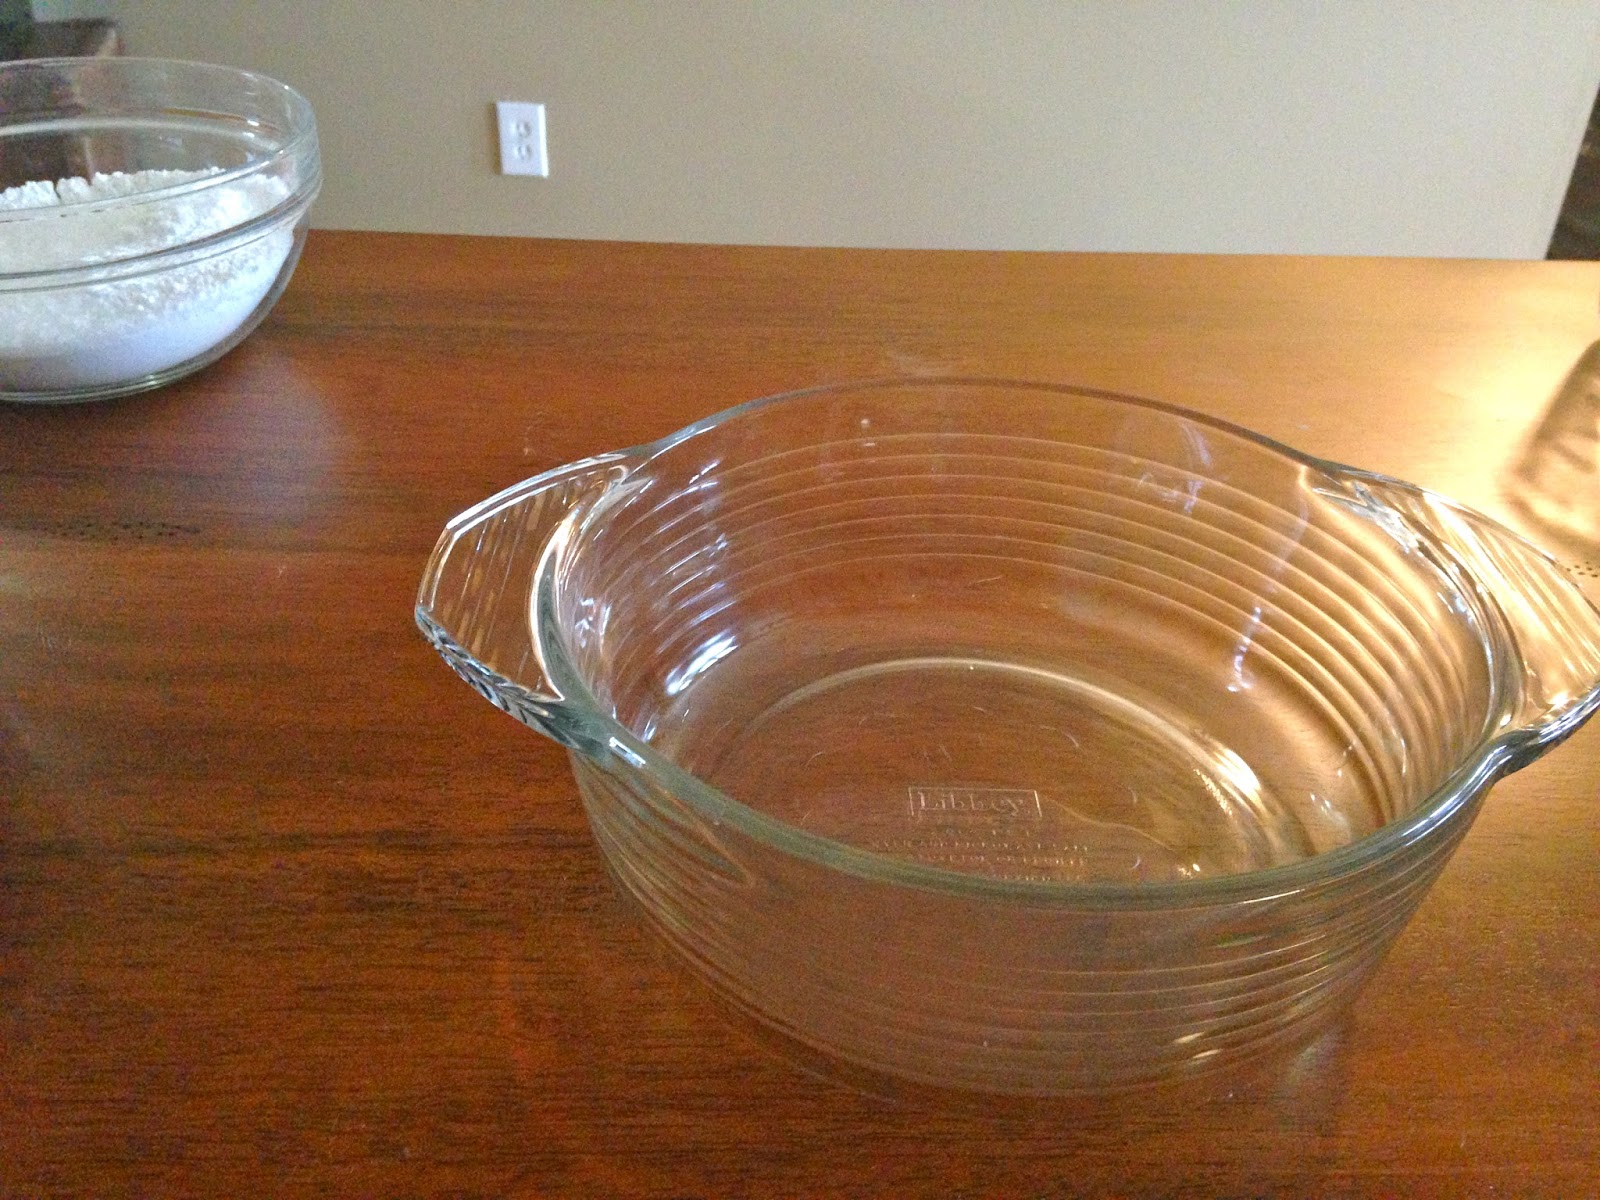
Push the powder mix to the side and grab your second bowl to put the oily mixtures in there.


Put 1/4 of oil. If you think the mixture is too dry after you mix them both together, you can always add more oil. Try not to put too much.
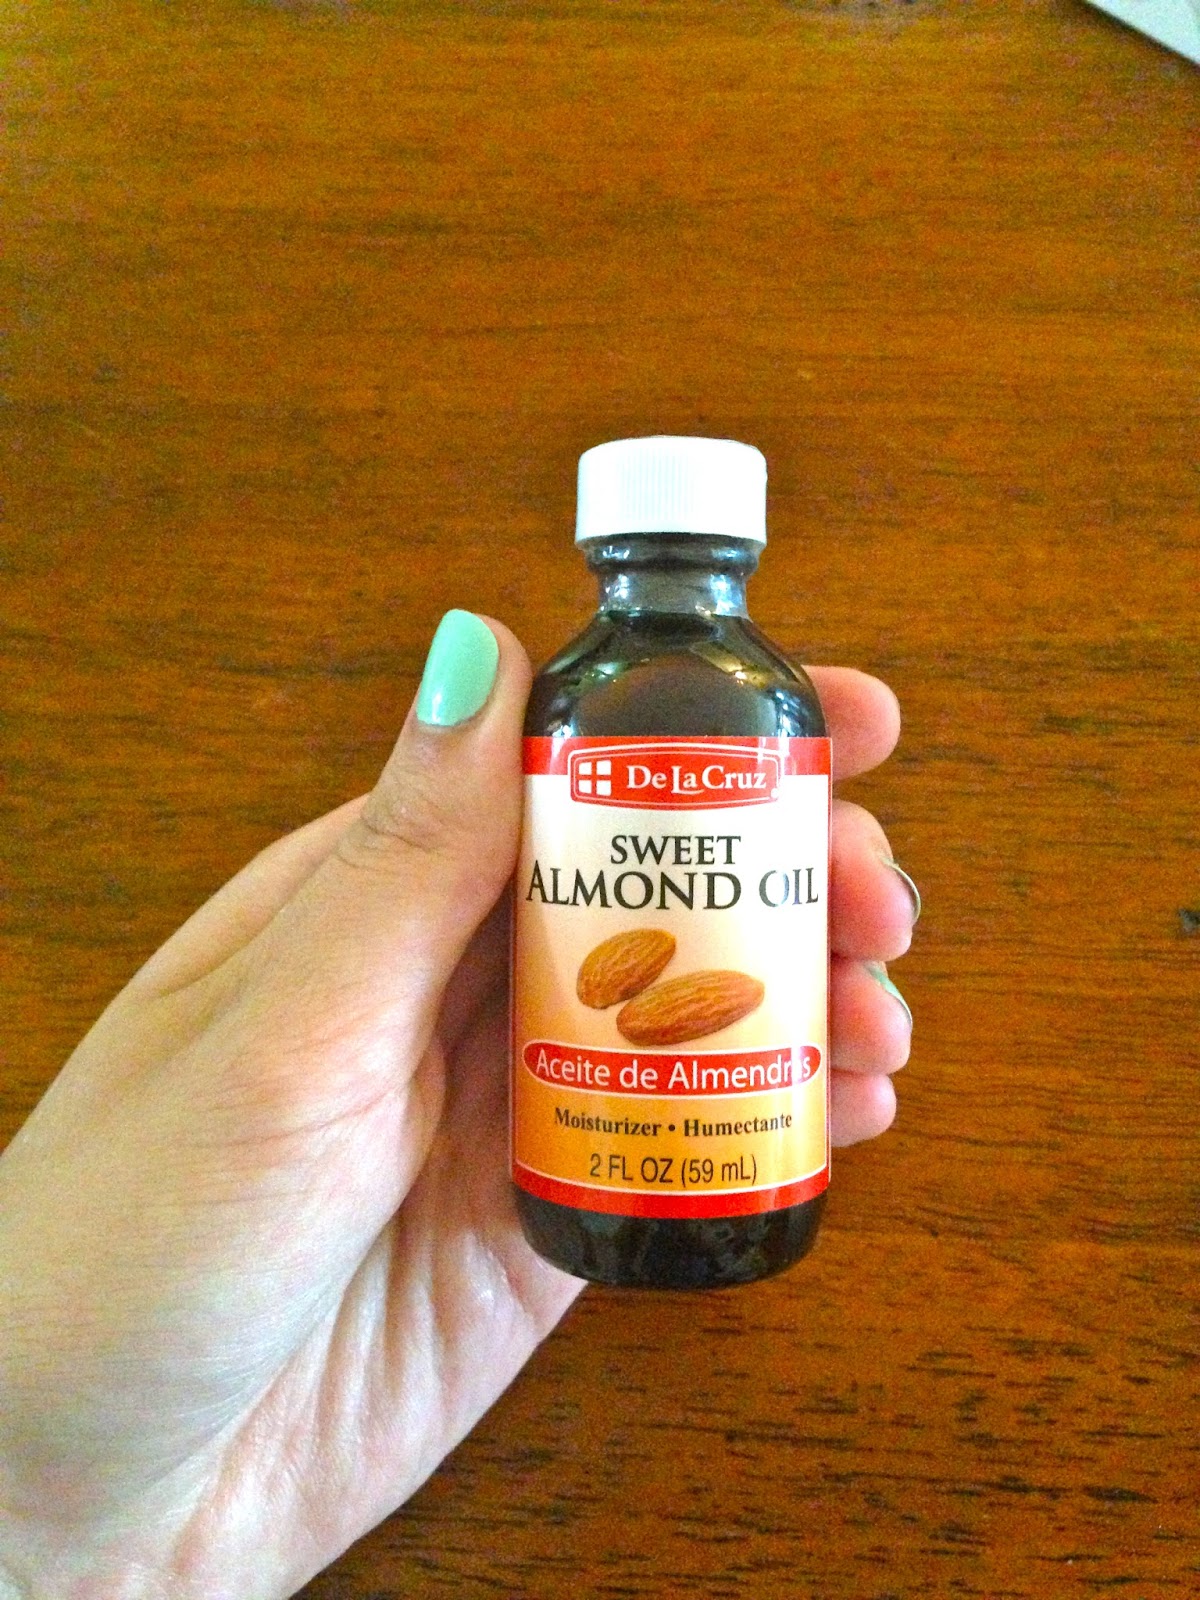

Pour your Almond Oil with the previous oil.
Mix the oils together using your whisk or you can use a spoon.
And this is what you should have. One bowl with your dry mixture, another will the oils, your veggie oil, baking soda and whisk.

Pour the contents in your oil bowl into your dry bowl (slowly) and start mixing

Add a little water (don't worry if it fizzes, this is normal, if it starts to fizz a lot use a little more baking soda) your mixture should look like this and feel like wet sand.

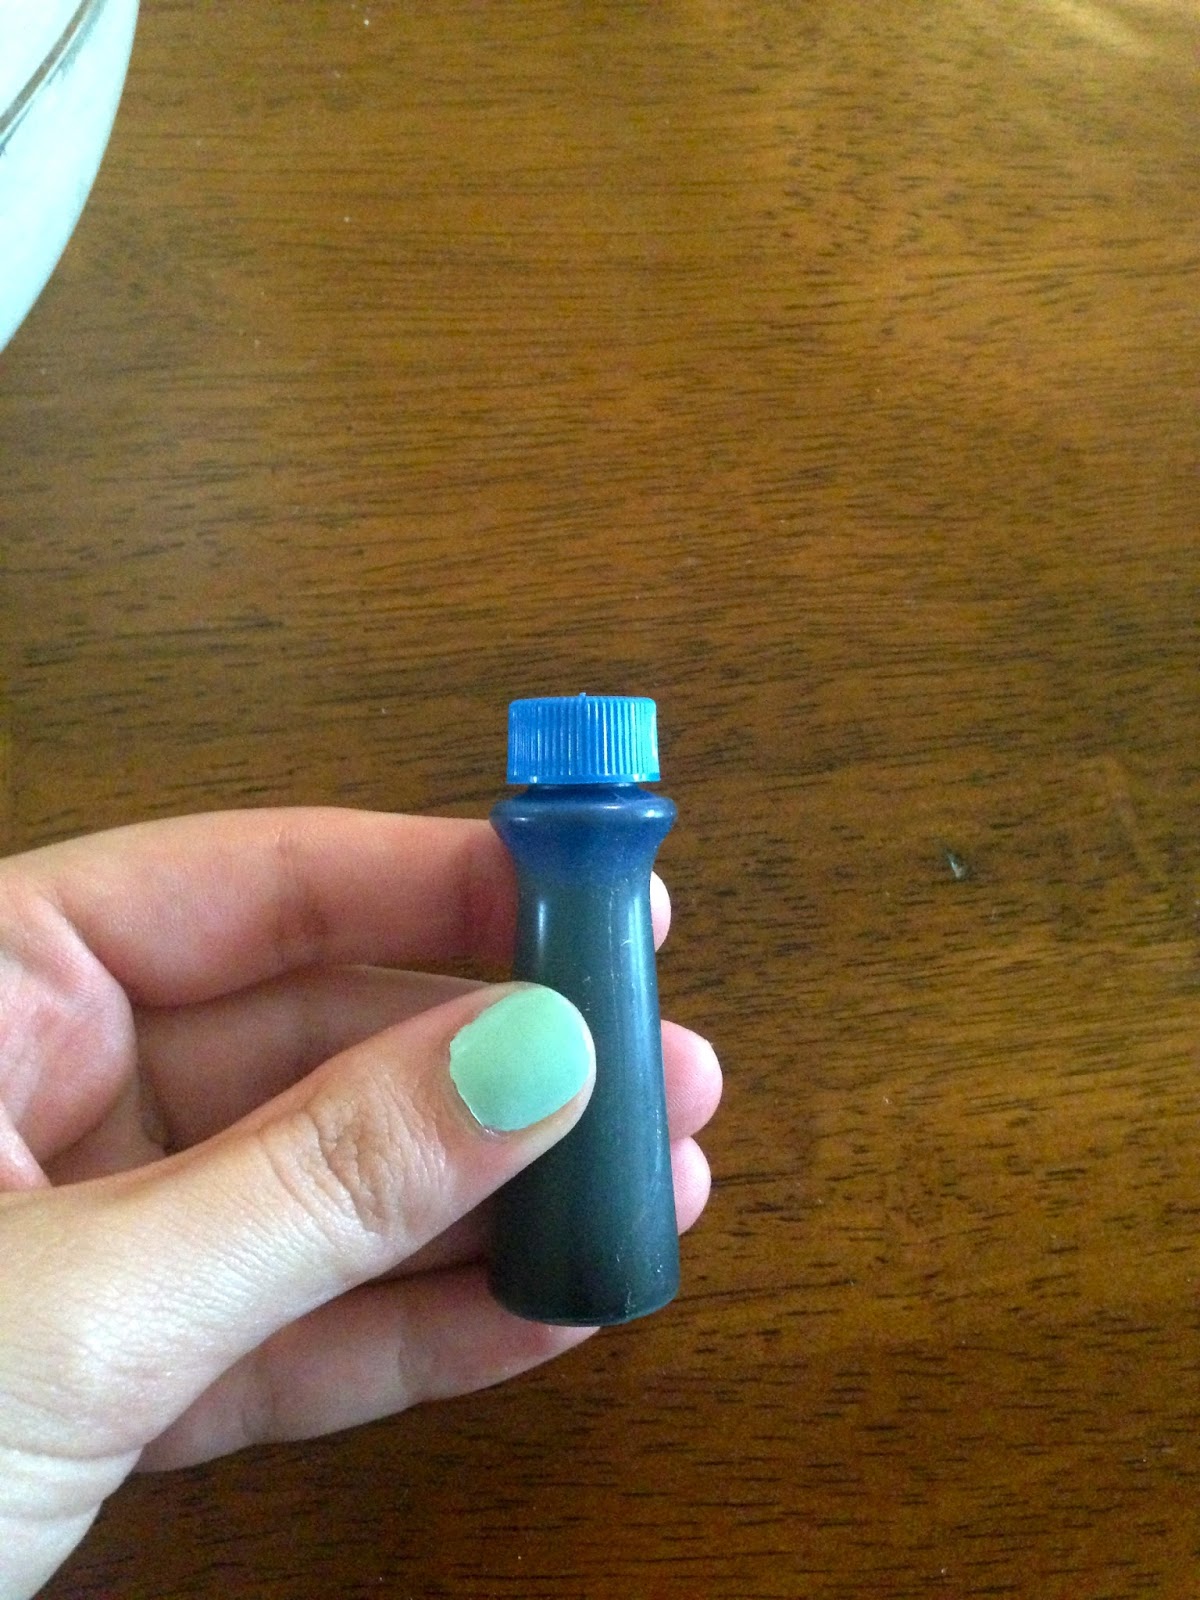

Time to add the food coloring! The more food coloring, the darker it will be. You could even mix colors!

This is what it should look like in the process of mixing.

And this is what it will look like once all the color and oils are absorbed into the dry mixture.


Take your molds, lay a paper towel underneath it to condense the mess and begin molding.


See the mess? The paper towel is worth it! Here is what your bath bomb should look like!


You do have the option to add different herbs, plants and flowers to the mix. You can do it individually (as seen above) or add it along with the food coloring into the entire mixture.

And Viola! Here are your amazing bath bombs! Time to try them out!
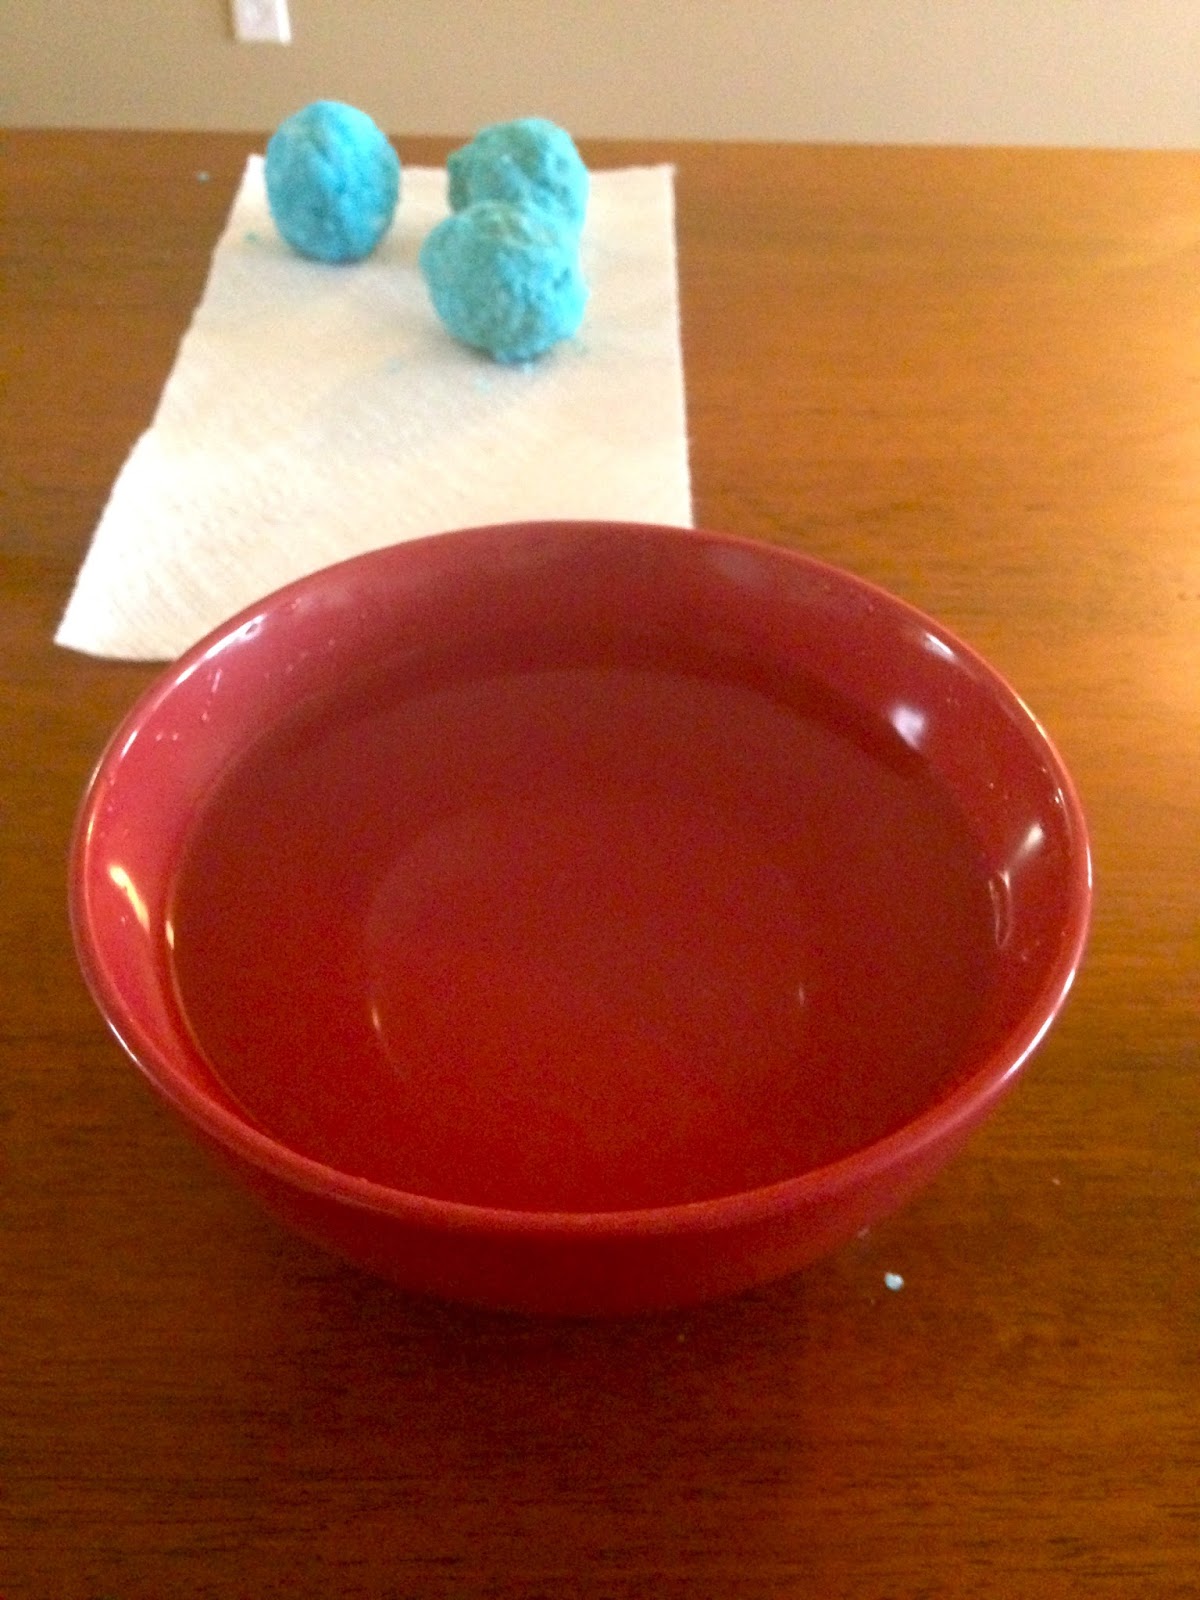


It's PERFECT! And smells amazing! The picture above doesn't do the color justice because the bowl is so small, making the color condensed; in a bath tub it would be more of a light blue.
I know that I immediately used a bath bomb, however, they're best used when they're a little dried up. Stick your new bath accessories in an airtight container and let them sit for a few days. Use within six months for full effects of each ingredient. Once you've mastered the basic mix (shown above), you can add all different stuff! Your own personal blend of oils/fragrances, flower petals, glitter.. whatever you prefer! Play around - it's so much fun and watching the water change is really exciting! Happy bathing!
Send pictures of your bath bombs along with any questions to briannaonabudget@gmail.com. Comment below and let me know what you think!


No comments:
Post a Comment